LINDA’S ARTWORLD

A collection of Linda’s artworks, designs, humanitarian projects and publications where light, space, and mathematical precision intersect.

Tag: By train

A day covered by rail rather than by bicycle.

  • Day 66: Hiroshima by Train

    Date
    2022-12-16, Friday
    Distance
    0 km biked (3566.43 km in total)

    It felt almost ironic that my very first ride on the shinkansen wasn’t to chase a romantic glimpse of Mount Fuji, but rather to double back to Hiroshima — to stand at the very heart of the atomic blast. A heavy destination for a maiden ride, but maybe that’s what life is: sweet and bitter, light and shadow, always side by side.

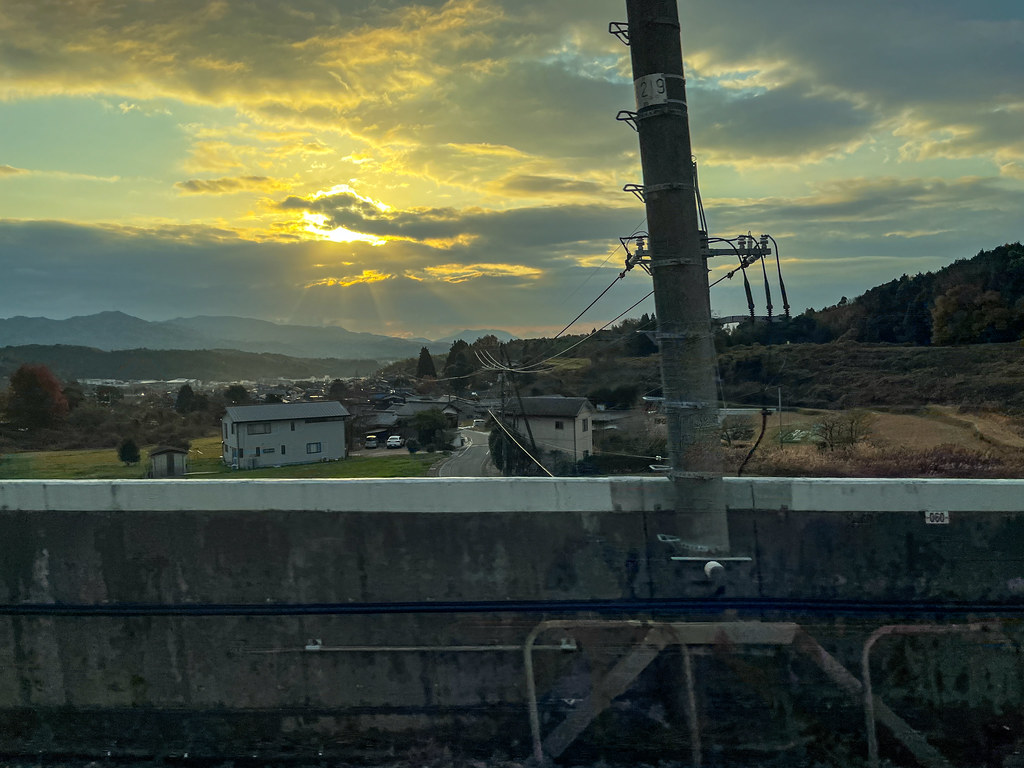
    The shinkansen felt luxurious than any train I had taken: Every seat had its own charging port, the aisles were wide enough to stroll comfortably, and barrier-free facilities were everywhere. In just about two hours, we covered over 200 kilometers while wrapping in warmth, gazing out the window as the scenery blurred into arcs of motion. It was astonishing how technology could fold time and space so neatly. Before my thoughts caught up, we had already arrived.

    From the station, we hopped onto a charming retro streetcar that rattled toward the Peace Memorial Park, which is more than just a museum — it’s an entire landscape of remembrance. Even on a weekday morning, the site was full of school groups on field trips, their teachers leading them through the grounds with quiet solemnity. I counted six tour buses within a single morning. For Japanese children, this place is a mandatory part of their education, a classroom of history under the open sky.

    The park itself was once the vibrant heart of Hiroshima, filled with shops, schools, and homes before 6 August 1945, when a single atomic bomb flattened it all in an instant. Three days later Nagasaki suffered the same fate, and within a week Japan surrendered. Today, the park stretches across the once flattened ruins, with its wide green avenues deliberately designed by the architect Kenzo Tange (1913 – 2005) — then still early in his career — to symbolise rebirth and peace.

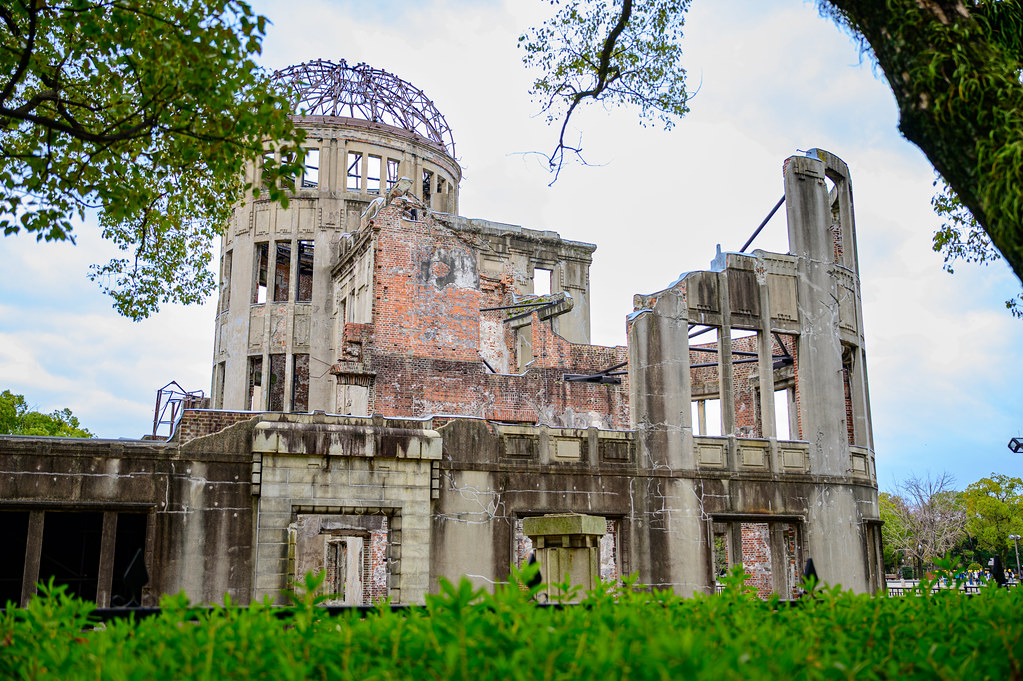
    The park is laid out on the exact hypocentre of the bombing. Our walk began with the A-Bomb Dome, the skeletal ruin of the former Industrial Promotion Hall, preserved just as it was left after the blast. Everything around it had been flattened, yet by a quirk of its structure, the Dome remained standing, now a UNESCO World Heritage site and the starkest visual reminder of that morning in the summer of 1945. To see it in person, still scarred yet unbowed after all these decades, was chilling.

    Crossing the bridge into the park, we followed the Line of Peace, the central axis designed by Tange that aligns the Dome, cenotaph, and museum in one sightline. This design was meant to be more than urban planning; it was a kind of ritual guiding each visitor on a symbolic journey. Step by step, our gaze follows a line through destruction, remembrance, and reflection, so that even the act of walking becomes part of the memorial experience.

    The first major landmark we encountered was the Flame of Peace, lit in 1964. Its pedestal is shaped like two outstretched hands, palms joined at the wrist, sheltering a fire that will burn until the last nuclear weapon on Earth is abolished. It was both defiant and fragile, an eternal gesture of hope.

    Further along stood the cenotaph, an arched stone monument, also designed by Tange, that shelters the registry of victims’ names. Its inscription reads: “Let all the souls here rest in peace, for we shall not repeat the evil.” Through its arch, the A-Bomb Dome is perfectly framed in the distance, so that when one looks through the arch, one sees memory, promise, and ruin aligned on a single sightline.

    Behind the cenotaph rose the Peace Memorial Museum, on the other side of which stood the Prayer Fountain. It's a haunting tribute to those who died crying out for water in the burning ruins of the city. Standing by its edge, listening to the trickling water, I could almost hear that silence punctured by desperate voices. In front of the fountain is the Mother and Child in the Storm monument, a bronze sculpture of a mother cradling her child against invisible winds, created by Kato Kaiji, who lost his own daughter in the bombing. Grief here was intimate and personal, carved into bronze for all to see.
    Further away, children’s voices floated through the air around the Children’s Peace Monument. This tall, slender bomb-shaped structure is crowned with a bronze girl lifting a paper crane skyward, modeled after Sadako Sasaki, a young girl who survived the initial blast but developed leukemia years later from radiation exposure. While hospitalised, Sadako began folding one thousand paper cranes, inspired by the Japanese folklore that doing so would grant a wish. She never finished before dying at just 12 of age. Her classmates continued the act, and today, paper cranes — in every colour imaginable — are sent from around the world, decorating the monument in a never-ending cascade of folded wings. Standing there among origami cranes and the memory of Sadako’s hope for a world without nuclear weapons, I felt the park’s mission most clearly: not just to remember loss, but to nurture a future without it.

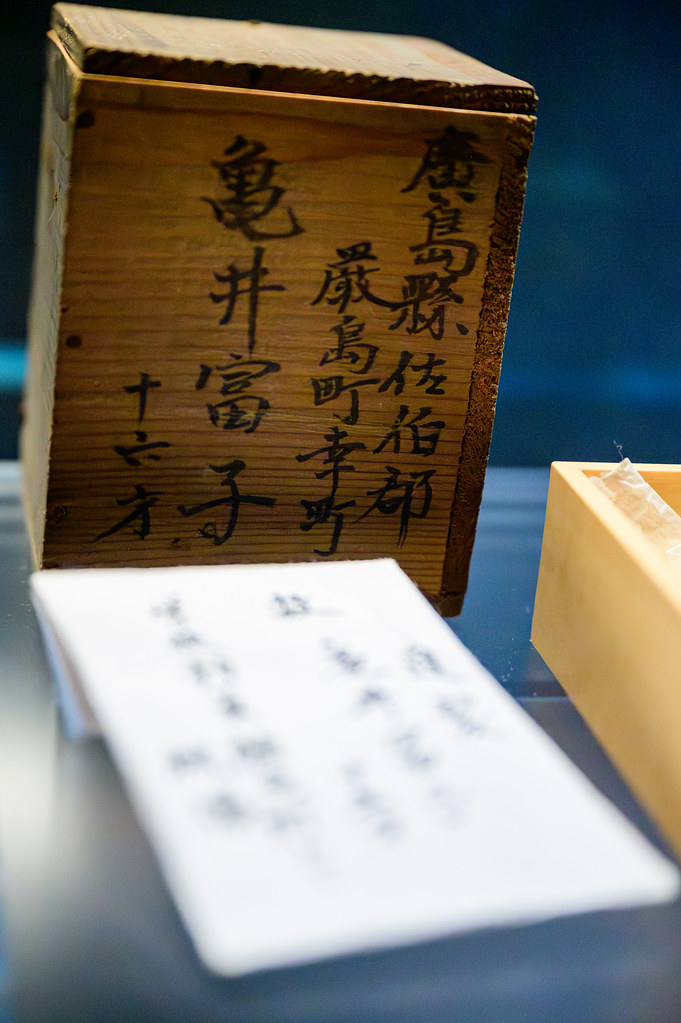
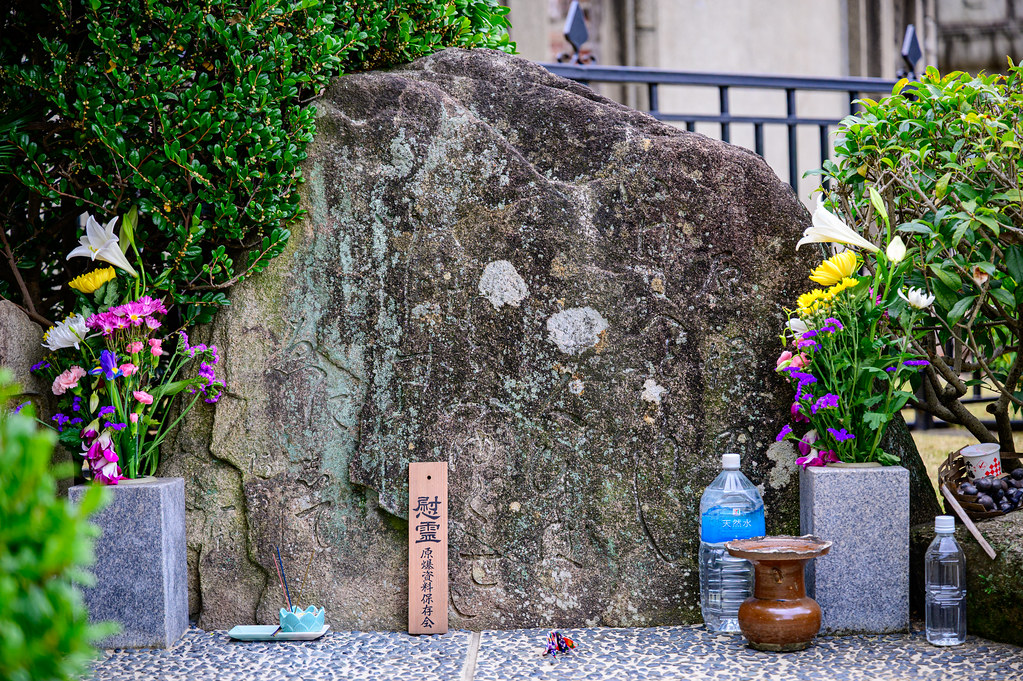
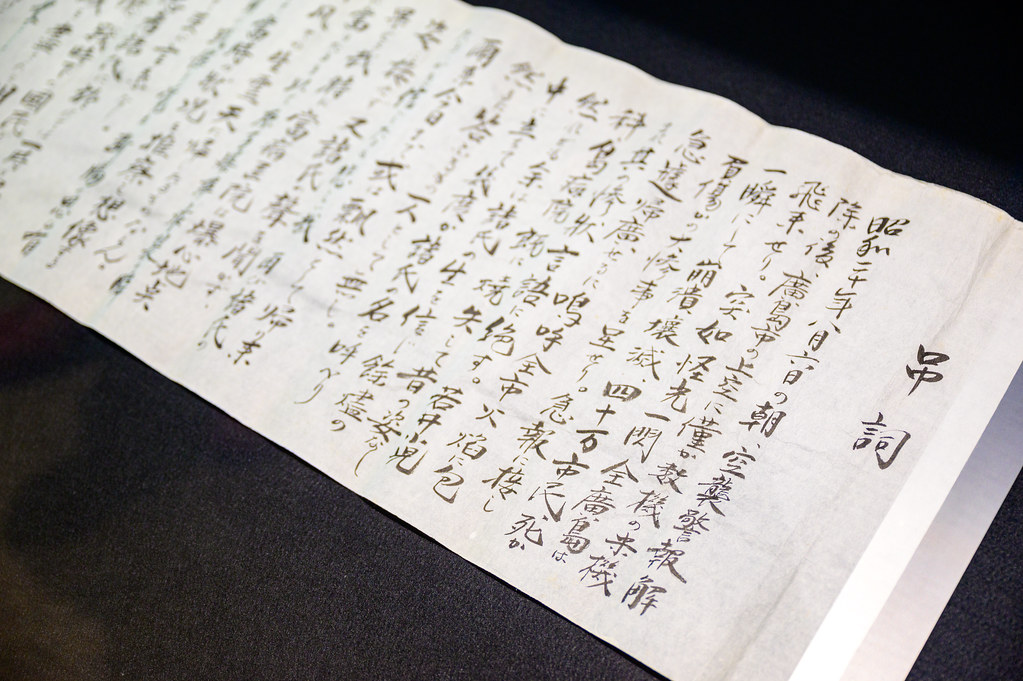
    After this quiet walk among the memorials, we entered the Peace Memorial Museum. It was the quietest museum I’ve ever visited. The silence inside was absolute, as though the exhibits themselves absorbed sound. Visitors moved slowly, speaking in whispers if at all. The displays were devastating: melted remnants of daily life, charred clothing, children’s tricycle, shadows burned into stone, and photographs of those who vanished in an instant. Many artifacts had been donated by survivors or widows. The museum presented the horror of the bombing entirely through the eyes of the victims, while the broader context of the war remained muted. Despite this incomplete story, the truth of suffering was laid bare, so was the indiscriminate cruelty of the war: tragedy beyond nationality or status, which further strengthened my conviction that war does nothing good to civilians of any side.

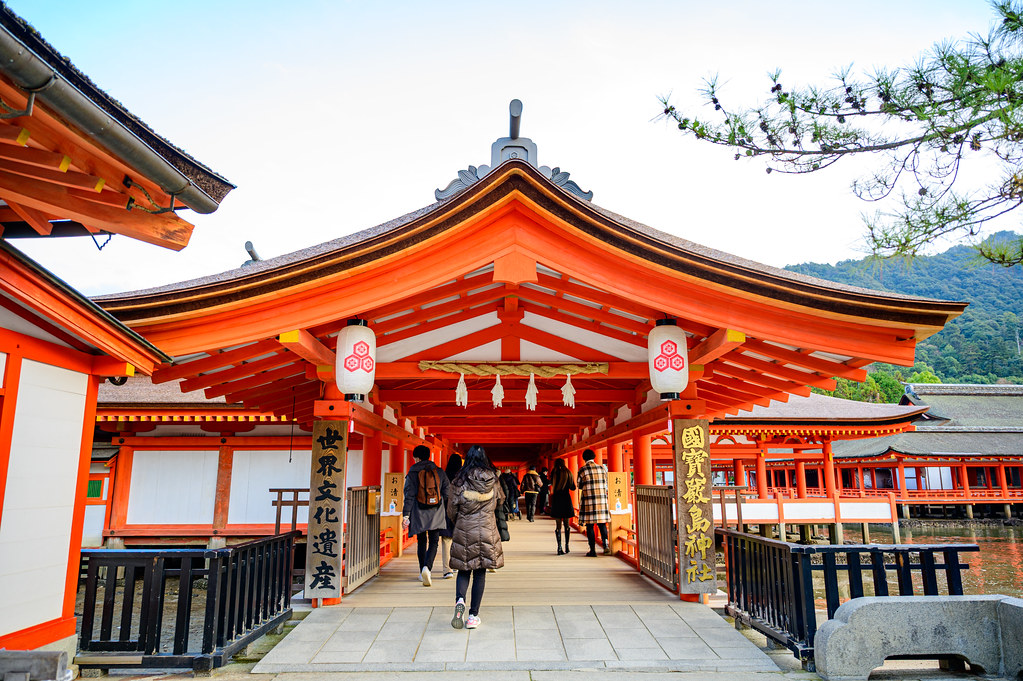
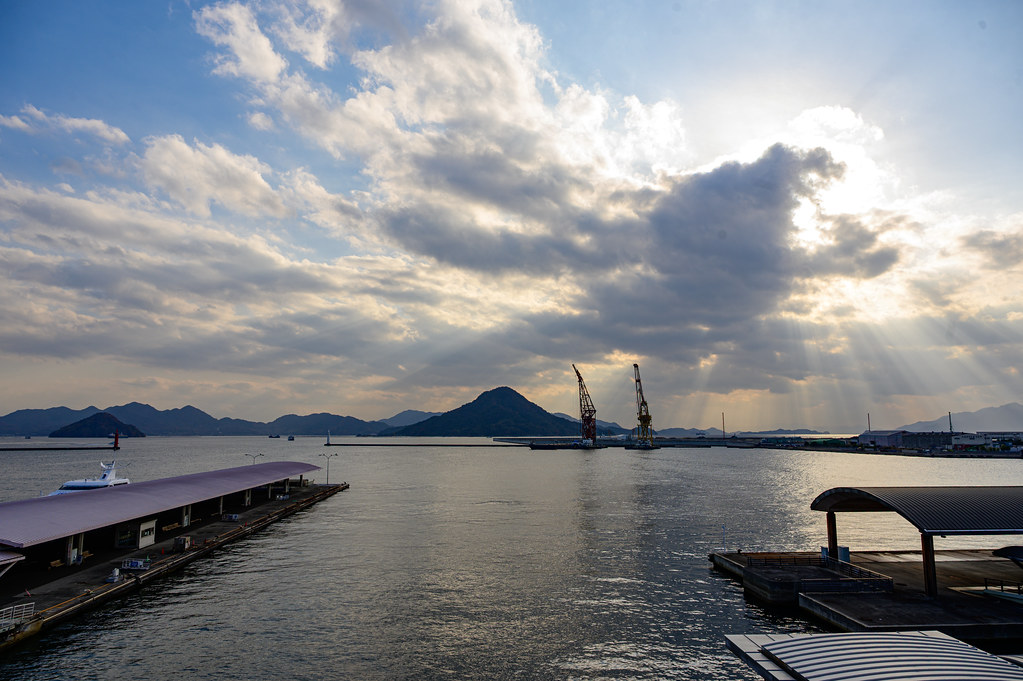
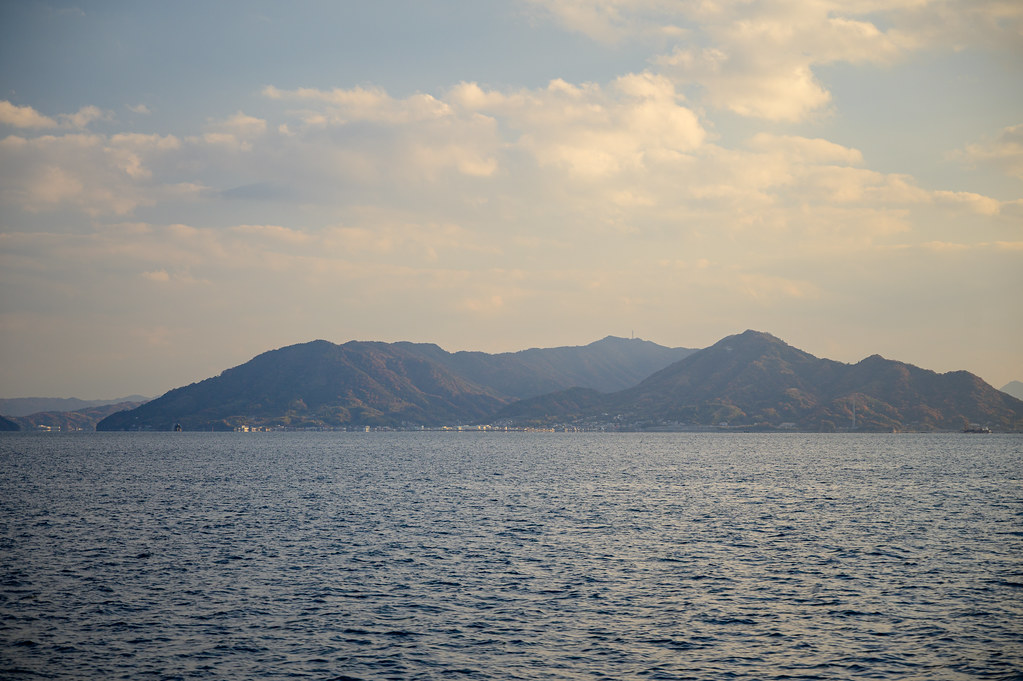
    In the afternoon, we boarded a ferry to Miyajima (Itsukushima), home to the famous floating torii gate of Itsukushima Shrine. By 4 pm we had arrived, and the timing was perfect. Southern Japan’s winter sunsets come later than in the northeast, so we still had a lingering glow. Standing on the shore, watching the great vermilion gate rise from the tide, I felt its power. Clouds, unfortunately, smothered the sunset, but as the crowd thinned, we stayed to capture the torii shimmering in the blue hours against the water.

    Miyajima is tourist-heavy, but life flows on here too. We saw students disembarking from the ferry after school, mingling with deer that roamed the island freely. Unlike their aggressive Nara cousins, Miyajima’s deers were gentler, though still mischievous enough to sneak snacks — one nearly nibbled a plastic bag out of my friend's hand.

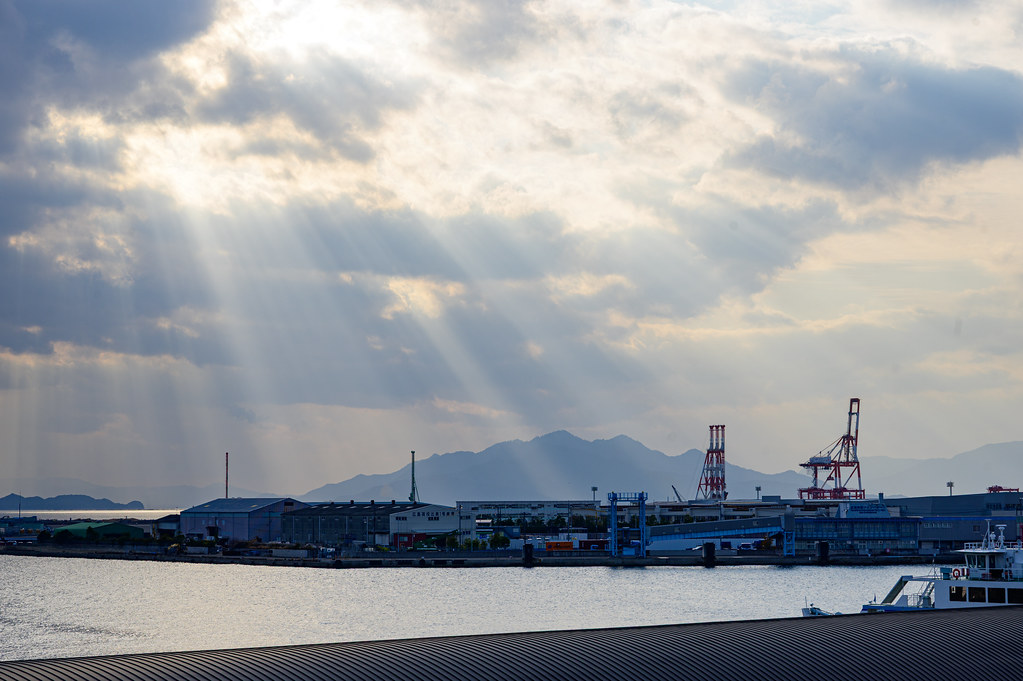
    By the night fall we were back in Kitakyushu, folding clean laundry, charging batteries, and packing panniers. Tomorrow, the bikes would roll south again — toward new roads, new climbs, and new discoveries — but Hiroshima’s weight and its fragile hope lingered long after we left.

    The full take — 112 more photographs from this day
    Hiroshima by Train — photograph 1 of 112 Hiroshima by Train — photograph 2 of 112 Hiroshima by Train — photograph 3 of 112 Hiroshima by Train — photograph 4 of 112 Hiroshima by Train — photograph 5 of 112 Hiroshima by Train — photograph 6 of 112 Hiroshima by Train — photograph 7 of 112 Hiroshima by Train — photograph 8 of 112 Hiroshima by Train — photograph 9 of 112 Hiroshima by Train — photograph 10 of 112 Hiroshima by Train — photograph 11 of 112 Hiroshima by Train — photograph 12 of 112 Hiroshima by Train — photograph 13 of 112 Hiroshima by Train — photograph 14 of 112 Hiroshima by Train — photograph 15 of 112 Hiroshima by Train — photograph 16 of 112 Hiroshima by Train — photograph 17 of 112 Hiroshima by Train — photograph 18 of 112 Hiroshima by Train — photograph 19 of 112 Hiroshima by Train — photograph 20 of 112 Hiroshima by Train — photograph 21 of 112 Hiroshima by Train — photograph 22 of 112 Hiroshima by Train — photograph 23 of 112 Hiroshima by Train — photograph 24 of 112 Hiroshima by Train — photograph 25 of 112 Hiroshima by Train — photograph 26 of 112 Hiroshima by Train — photograph 27 of 112 Hiroshima by Train — photograph 28 of 112 Hiroshima by Train — photograph 29 of 112 Hiroshima by Train — photograph 30 of 112 Hiroshima by Train — photograph 31 of 112 Hiroshima by Train — photograph 32 of 112 Hiroshima by Train — photograph 33 of 112 Hiroshima by Train — photograph 34 of 112 Hiroshima by Train — photograph 35 of 112 Hiroshima by Train — photograph 36 of 112 Hiroshima by Train — photograph 37 of 112 Hiroshima by Train — photograph 38 of 112 Hiroshima by Train — photograph 39 of 112 Hiroshima by Train — photograph 40 of 112 Hiroshima by Train — photograph 41 of 112 Hiroshima by Train — photograph 42 of 112 Hiroshima by Train — photograph 43 of 112 Hiroshima by Train — photograph 44 of 112 Hiroshima by Train — photograph 45 of 112 Hiroshima by Train — photograph 46 of 112 Hiroshima by Train — photograph 47 of 112 Hiroshima by Train — photograph 48 of 112 Hiroshima by Train — photograph 49 of 112 Hiroshima by Train — photograph 50 of 112 Hiroshima by Train — photograph 51 of 112 Hiroshima by Train — photograph 52 of 112 Hiroshima by Train — photograph 53 of 112 Hiroshima by Train — photograph 54 of 112 Hiroshima by Train — photograph 55 of 112 Hiroshima by Train — photograph 56 of 112 Hiroshima by Train — photograph 57 of 112 Hiroshima by Train — photograph 58 of 112 Hiroshima by Train — photograph 59 of 112 Hiroshima by Train — photograph 60 of 112 Hiroshima by Train — photograph 61 of 112 Hiroshima by Train — photograph 62 of 112 Hiroshima by Train — photograph 63 of 112 Hiroshima by Train — photograph 64 of 112 Hiroshima by Train — photograph 65 of 112 Hiroshima by Train — photograph 66 of 112 Hiroshima by Train — photograph 67 of 112 Hiroshima by Train — photograph 68 of 112 Hiroshima by Train — photograph 69 of 112 Hiroshima by Train — photograph 70 of 112 Hiroshima by Train — photograph 71 of 112 Hiroshima by Train — photograph 72 of 112 Hiroshima by Train — photograph 73 of 112 Hiroshima by Train — photograph 74 of 112 Hiroshima by Train — photograph 75 of 112 Hiroshima by Train — photograph 76 of 112 Hiroshima by Train — photograph 77 of 112 Hiroshima by Train — photograph 78 of 112 Hiroshima by Train — photograph 79 of 112 Hiroshima by Train — photograph 80 of 112 Hiroshima by Train — photograph 81 of 112 Hiroshima by Train — photograph 82 of 112 Hiroshima by Train — photograph 83 of 112 Hiroshima by Train — photograph 84 of 112 Hiroshima by Train — photograph 85 of 112 Hiroshima by Train — photograph 86 of 112 Hiroshima by Train — photograph 87 of 112 Hiroshima by Train — photograph 88 of 112 Hiroshima by Train — photograph 89 of 112 Hiroshima by Train — photograph 90 of 112 Hiroshima by Train — photograph 91 of 112 Hiroshima by Train — photograph 92 of 112 Hiroshima by Train — photograph 93 of 112 Hiroshima by Train — photograph 94 of 112 Hiroshima by Train — photograph 95 of 112 Hiroshima by Train — photograph 96 of 112 Hiroshima by Train — photograph 97 of 112 Hiroshima by Train — photograph 98 of 112 Hiroshima by Train — photograph 99 of 112 Hiroshima by Train — photograph 100 of 112 Hiroshima by Train — photograph 101 of 112 Hiroshima by Train — photograph 102 of 112 Hiroshima by Train — photograph 103 of 112 Hiroshima by Train — photograph 104 of 112 Hiroshima by Train — photograph 105 of 112 Hiroshima by Train — photograph 106 of 112 Hiroshima by Train — photograph 107 of 112 Hiroshima by Train — photograph 108 of 112 Hiroshima by Train — photograph 109 of 112 Hiroshima by Train — video 110 of 112 Hiroshima by Train — video 111 of 112 Hiroshima by Train — video 112 of 112
  • Day 51: Shibuya and Mitaka by Train

    Date
    2022-12-01, Thursday
    Distance
    0 km biked (2859.31 km in total)

    We chose to stay in Fujisawa last evening, largely due to a scheduling misstep. During our 3-day stay in Tokyo, we had failed to secure tickets to the Ghibli Museum where reservations must now be made well in advance. We could only get a pair of tickets for the 1st of December. As a workaround, we opted to ride westward, checked into a hotel, and returned to the Tokyo area by train to visit the museum. An inefficient detour, perhaps — but well worth it in the end.

    Ghibli Museum is nested in Mitaka, a suburb of Tokyo Metropolitan area. We arrived via a charming bus adorned with familiar Ghibli characters. At the entrance, we were greeted by a giant Totoro — Ghibli's beloved mascot. Inside the gates, we were struck by the massive line-up that went all the way to the other side of the building and how many international visitors there were — likely close to half the crowd. Staff members wore navy Montbell × Ghibli collaboration jackets, embroidered with the studio’s crest. Stylish and distinctive, they were regrettably not for sale.

    Photography was not permitted inside the building, so now I can only speak from memories about our journey through winding staircases and quaint nooks of this enchanting world. Designed by Hayao Miyazaki himself, the building exterior features colourful and unorthodox structures that mirror the whimsy of Ghibli's animated works. The interior space was made into an atelier-inspired exhibit that showcases original materials such as concept arts and storyboards used in Ghibli’s productions. A re-creation of an animator’s workspace provided a glimpse into the meticulous world behind the magic.

    In the rooftop garden, a life-size sculpture of the forgotten robot soldier from Laputa: Castle in the Sky (1986) stood amidst foliage, serving as a memorable photo opportunity for Ghibli fans. Lastly, we were ushered into the intimate 80-seat Saturn Theatre, where Ghibli’s exclusive shorts are screened on rotation. That day’s film was Mr. Dough and the Egg Princess (2010).

    Overall, it’s a nicely designed museum to visit especially for animation enthusiasts. Its greatest flaw may be its scale — the physical space feels really cramped, partly due to the huge amount of visitors (I was told it’s always this crowded except during the pandemic); wandering through it made me feel rather clumsy. They really need to expand it to accommodate this many people. Its boutique, charming as it was, was equally congested, which didn't offer me a very good shopping experience. Nevertheless, I did get to purchase the full set of Ghibli short film pamphlets that were hard to come by elsewhere.

    Earlier today, before heading to Mitaka, we also visited Meiji Jingu (明治神宮), a Shinto shrine dedicated to the figurehead of the Meiji Restoration, in Shibuya.

    Located within the quiet expanse of some 100,000 trees, this Shinto shrine is an oasis amidst a frenetic city. The overcast sky lent a hushed stillness to the canopy of ancient cedars. The cool, damp air carried the faint scent of vegetation, and the gentle rustle of leaves replaced the usual sound of traffic. With the presence of so many plants that acted as a natural barrier to shun us from the bustle of the capital, the sanctuary grounds felt more solemn, more serene. At the main hall, visitors abunded, but were never too many to make the space cramped. They bowed quietly, clapped twice, and made their wishes, all in quiet devotion — sharp contrast with the burstling and always noisy Nikko Tosho-gu we had visited another day. My visiting experience was more agreeable at the quiet Meiji Jingu, which was well maintained with less vibrant paint. Its quietness leaves me to sense the simple acts of piety of the visitors and natural attractiveness of the building complex.

    Tomorrow, we venture to Hakone. When we mentioned this plan to a few locals, they responded with concerned yet knowing smiles — as if to gently warn us of the journey ahead. It seems wise to prepare ourselves mentally. Whether we arrive early or late, I have no doubt the climb will be difficult. But perhaps, like today's detour, the challenge will make the destination all the more memorable.

    The full take — 53 more photographs from this day
    Shibuya and Mitaka by Train — photograph 1 of 53 Shibuya and Mitaka by Train — photograph 2 of 53 Shibuya and Mitaka by Train — photograph 3 of 53 Shibuya and Mitaka by Train — photograph 4 of 53 Shibuya and Mitaka by Train — photograph 5 of 53 Shibuya and Mitaka by Train — photograph 6 of 53 Shibuya and Mitaka by Train — photograph 7 of 53 Shibuya and Mitaka by Train — photograph 8 of 53 Shibuya and Mitaka by Train — photograph 9 of 53 Shibuya and Mitaka by Train — photograph 10 of 53 Shibuya and Mitaka by Train — photograph 11 of 53 Shibuya and Mitaka by Train — photograph 12 of 53 Shibuya and Mitaka by Train — photograph 13 of 53 Shibuya and Mitaka by Train — photograph 14 of 53 Shibuya and Mitaka by Train — photograph 15 of 53 Shibuya and Mitaka by Train — photograph 16 of 53 Shibuya and Mitaka by Train — photograph 17 of 53 Shibuya and Mitaka by Train — photograph 18 of 53 Shibuya and Mitaka by Train — photograph 19 of 53 Shibuya and Mitaka by Train — photograph 20 of 53 Shibuya and Mitaka by Train — photograph 21 of 53 Shibuya and Mitaka by Train — photograph 22 of 53 Shibuya and Mitaka by Train — photograph 23 of 53 Shibuya and Mitaka by Train — photograph 24 of 53 Shibuya and Mitaka by Train — photograph 25 of 53 Shibuya and Mitaka by Train — photograph 26 of 53 Shibuya and Mitaka by Train — photograph 27 of 53 Shibuya and Mitaka by Train — photograph 28 of 53 Shibuya and Mitaka by Train — photograph 29 of 53 Shibuya and Mitaka by Train — photograph 30 of 53 Shibuya and Mitaka by Train — photograph 31 of 53 Shibuya and Mitaka by Train — photograph 32 of 53 Shibuya and Mitaka by Train — photograph 33 of 53 Shibuya and Mitaka by Train — photograph 34 of 53 Shibuya and Mitaka by Train — photograph 35 of 53 Shibuya and Mitaka by Train — photograph 36 of 53 Shibuya and Mitaka by Train — photograph 37 of 53 Shibuya and Mitaka by Train — photograph 38 of 53 Shibuya and Mitaka by Train — photograph 39 of 53 Shibuya and Mitaka by Train — photograph 40 of 53 Shibuya and Mitaka by Train — photograph 41 of 53 Shibuya and Mitaka by Train — photograph 42 of 53 Shibuya and Mitaka by Train — photograph 43 of 53 Shibuya and Mitaka by Train — photograph 44 of 53 Shibuya and Mitaka by Train — photograph 45 of 53 Shibuya and Mitaka by Train — photograph 46 of 53 Shibuya and Mitaka by Train — photograph 47 of 53 Shibuya and Mitaka by Train — photograph 48 of 53 Shibuya and Mitaka by Train — photograph 49 of 53 Shibuya and Mitaka by Train — photograph 50 of 53 Shibuya and Mitaka by Train — photograph 51 of 53 Shibuya and Mitaka by Train — photograph 52 of 53 Shibuya and Mitaka by Train — video 53 of 53